

USING A TOUCH PROBE FOR 3D SCANNING: TIPS AND TRICKS
3D scanning is one of the most useful features of CNC machines in processing marble, granite and other materials in the stone industry.
Today almost all CNC software has a “scanning feature”; you can look for it on your own machine.
Scanning allows to acquire the 3D shape of a solid object (marble, granite, glass, wood, etc.) and to create an STL file that can be used for the reproduction of the acquired form with a CNC machine.
Scanning allows you to acquire a precise 3D shape of a solid object and create an STL (Stereo Lithography interface format) file, which can be used for reproducing the object using a CNC machine.
3D scanning can be done in two ways: by using a laser scanner or a Mechanical Touch Probe.
Laser scanning is faster than using a touch probe but it’s much more expensive. In our experience, mechanical probes give you the same performance as a laser scan, provided you use the touch probe correctly.
CNC touch probe device – amastone
How does a touch probe 3D scanner work?
Before using a touch probe to scan an object with a CNC machine, you have to set up some simple parameters:
- the diameter of the probe tip
- two adjacent points across a distance
- scanning direction (X or Y)
- scanning step between two scan lines
- zero axes coordinates (usually set at the lowest and left-most point, if the piece to scan is seen from above)
Once this is done, you are ready to start scanning. The machine will bring the probe into contact with the object, release the contact of the probe bringing up the Z axis, and then it will move along in the scanning direction and repeat this process. When this is completed, an STL file will be created by the software.
Usually, the machine controller allows you to stop scanning at any point and restart when you are ready. Obviously, if a scan is restarted, a second file will be created with new scan data.
These files can be joined together using specialist software – we recommend MeshLab. The process of merging files with MeshLab is very simple; import the two STL files and select the command “Flatten Visible Layers”. This will generate a new file that you can use.
It is important to use a high-quality, professional touch probe to ensure a successful scan. Cheap probes might clamp on contact, preventing you from restarting the scan. If this happens, it will be necessary to unlock the probe manually. This occurs mostly with the first few scans. The probe, therefore, needs a period of “running in”.
By manually unlocking the probe, the software may record this action as a scanning point. This “spare” point can be removed with the MeshLab software. Simply use the feature “Select faces in a Rectangular Region tool”, then select the point you want to delete and click “Filter > Selection > Delete Selected faces and vertices“. It’s that simple!
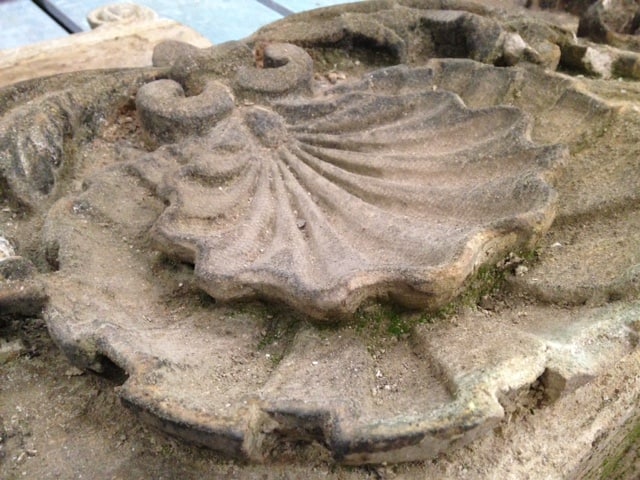
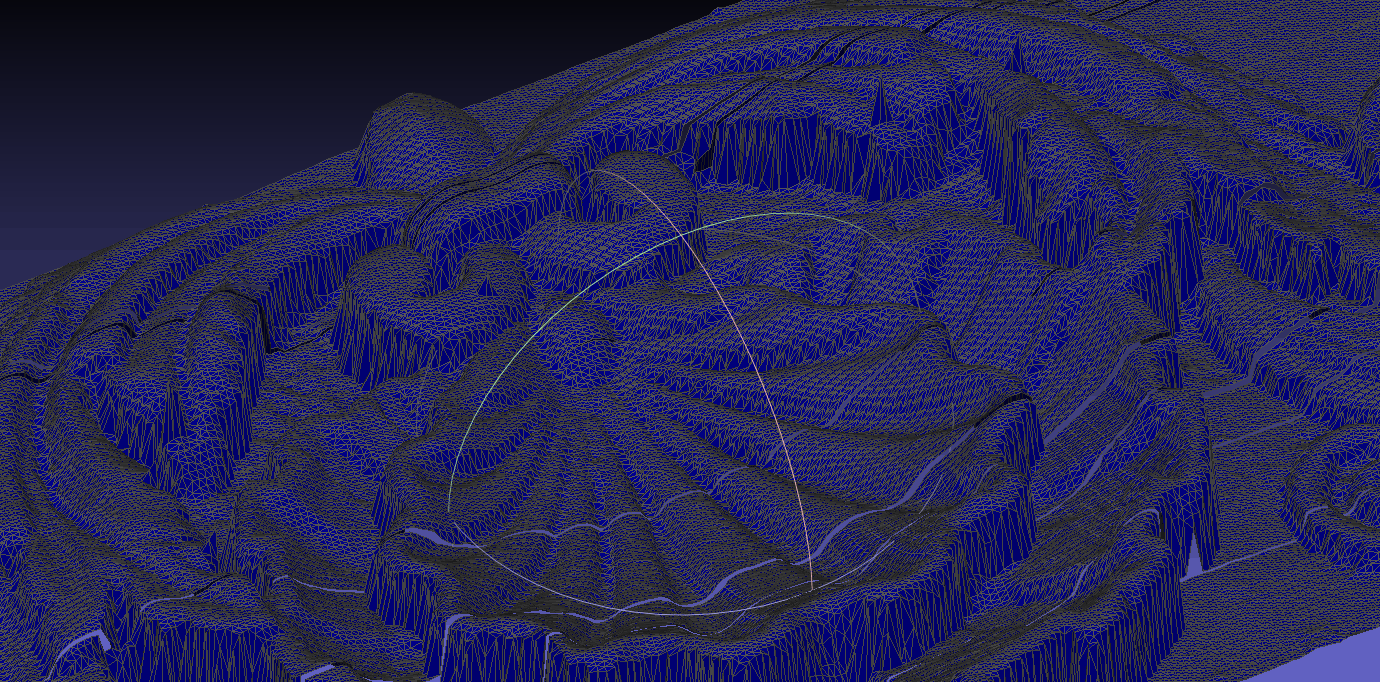
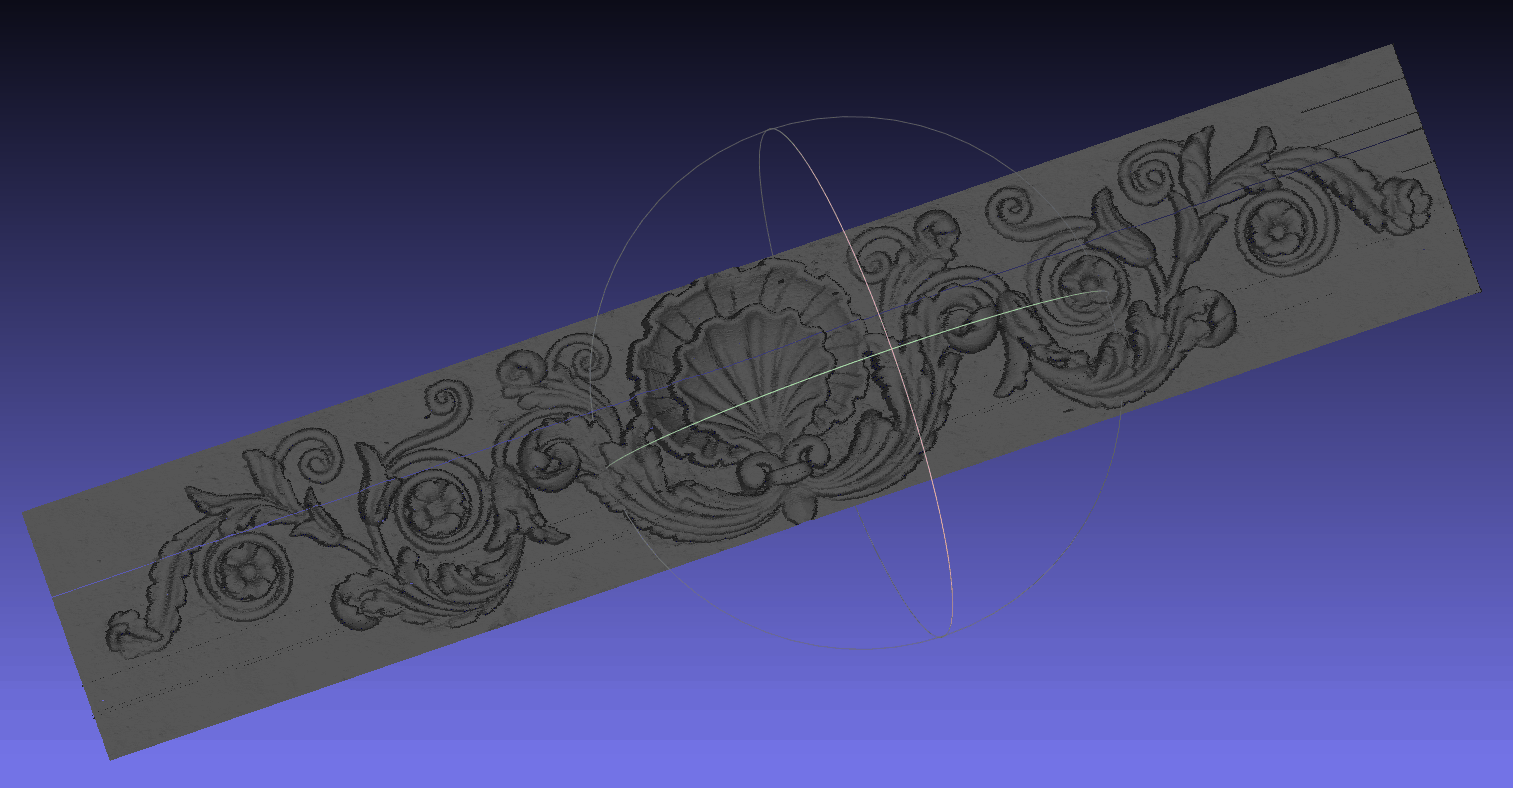
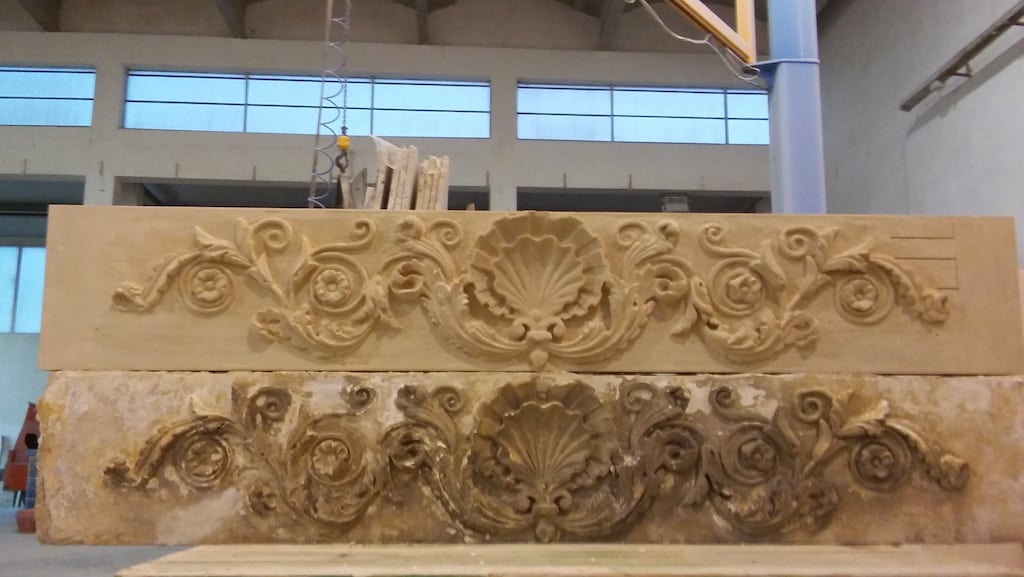
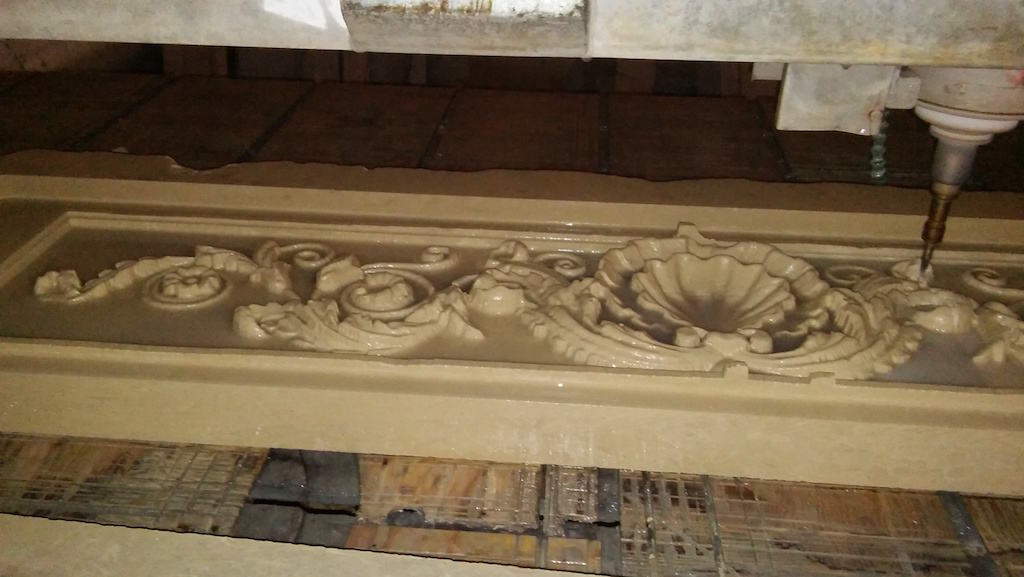
For example, we scanned a decorative stone lintel so that we could reproduce it in another block of stone. By using the touch probe technique we were able to create a perfect copy, even reproducing the imperfections of the original.
The dimensions were X: 1600 mm Y: 300 mm Z: 40 mm. The scan was performed with a tip diameter of 2 mm and, given the size, we did a scan with 1 mm distance between two points which provided 235,986 points.
The result was really good!
View the video and photos below to see how we did it.


 Diamond Blades
 Blade for power cutters, masonry saws and floor saws
 Polishing Machine Tools for Stone, Marble and Granite
 Edge polishing abrasives
 Edge polishing diamonds
 Texture tooling
 Adhesives and glue
 Ceramic, Granite and Marble Drill Bits
 Diamond Cloths
 Stone fabrication accessories
 Stone Carving Tools for Sculpting Marble and Granite
 Diamond Wires for Granite and Marble Quarries
 Portable Router Tools Handheld Bits
 Cemetery and Mausoleum Accessories
 Measuring Tools
 Sink and Worktop Mounting Components
 Tileable Stainless Steel Sinks
 Waste Kits
 Basin Brackets
 Fixing Systems
 Tile cutters
 Electric Tile Cutters
 Large Slab Handling
 Rail Tile Cutters
 Vibrating Suction Cups
 Alignement Suction Cups
 Tiling Accessories
 Grouting Tools
 Mixers
 Tileable Components
 Worktables
 Tile Levelling
 Montolit Spare Parts
 CNC Glass Tools
 CNC Wood Tools
 CNC Vacuum Cups
 CNC Tool Holders
 CNC Tool Forks
 CNC Adapters and Tool Extensions
 CNC Sensors and Measuring Tools
 Positioning Alignment Lasers
 Polishing Pads for Angle Grinder
 Sanding discs for angle grinders
 Angle Grinder Cutting Blades
 Diamond Core Drill Bits
 Grinding Cup Wheels
 Diamond Profile Wheels
 Backing Pads
 Grinder Dust Guards
 Angle Grinder Accessories
 Material Handling
 Lifting Clamps
 Manual Lifting Suction Cups
 Handling Equipment Parts
 Manzelli Spare Parts
 Grabo Spare Parts
 Power Tools
 Grinders
 Rotary Multi Tools
 Power Drills
 Multi Tools Accessories
 Power Tool Cases
 Masonry Equipment and Machines
 Machinery
 Vacuum cleaners
 Electrical Spare Parts
 Water Cooling Pipes
 Personal Protective Equipment
 Packaging
 Floor Pads
 Floor Brushes
 Polishing Powder
 Floor Diamond Resin Tools
 Floor Machines
 Floor Machine Accessories Spare Parts