CNC 3D Touch probe Measuring sensor – amastone®
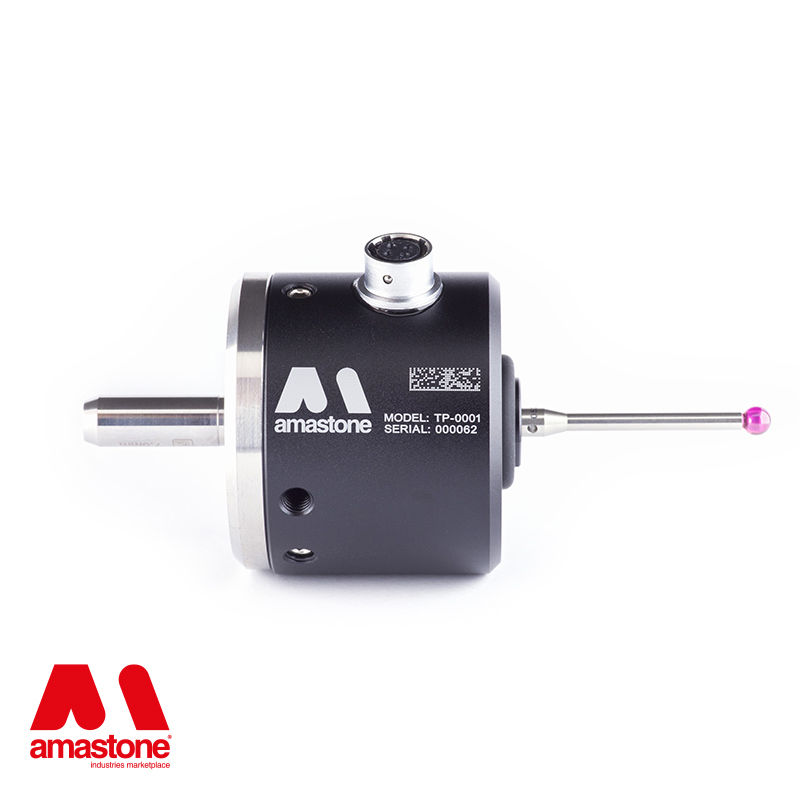
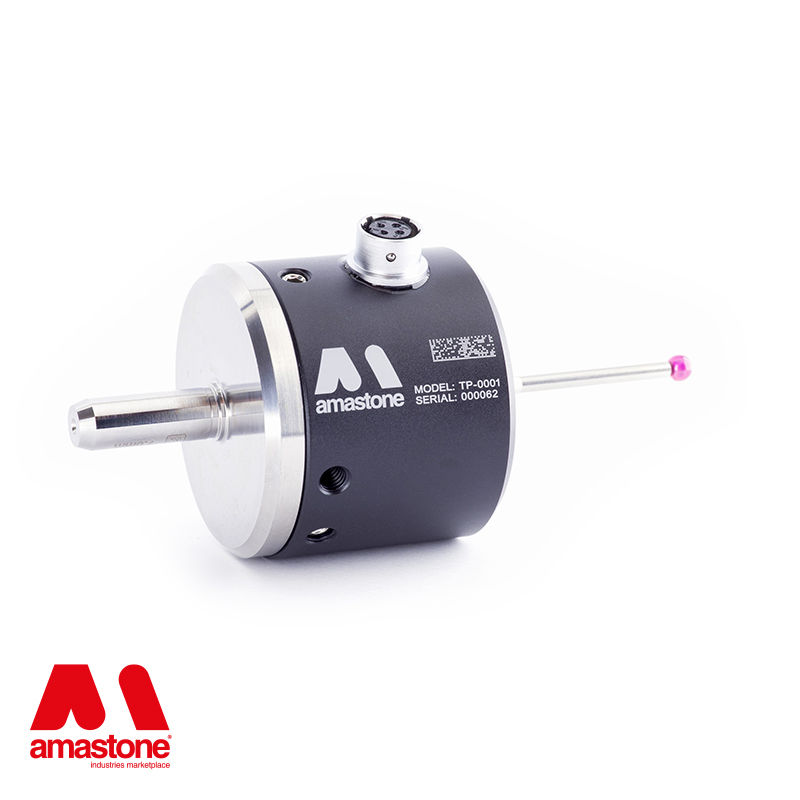
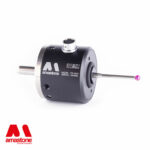
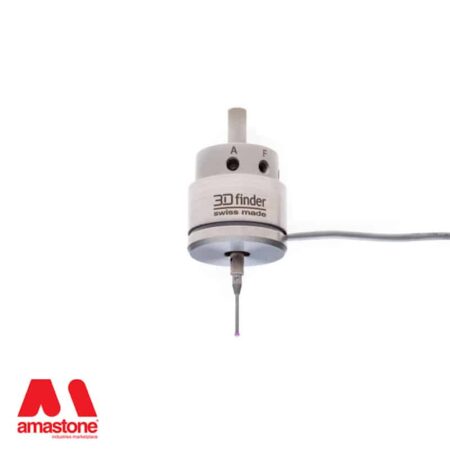
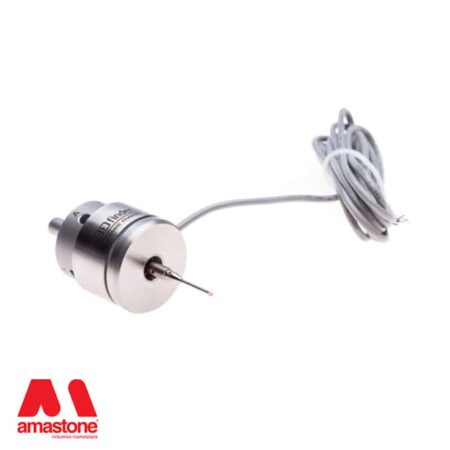
This CNC touch probe is a mechanical probe with an excellent price/quality ratio.
It is passive and hence requires no power supply to operate.
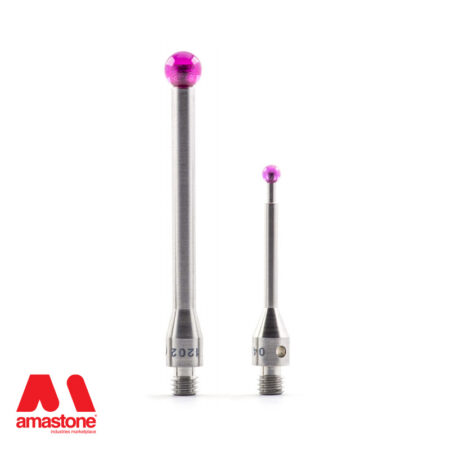
Features a 2 mm or 4 mm stylus ball.
In general, touch probes are used in CNC fabrication centers and CNC lathes for various purposes. For example, depending on your CNC machine’s features, you can use the probe to quickly detect the position of a part prior to machining, acquire the flatness of a surface to be milled, scan or copy (digitize) a 3D part (including shape, edges, holes, angles) or an ornamental motif, such as a bas-relief.
CNC Touch Probe applications and features:
- Fast zero-point acquisitions
- Workpiece scanning, digitizing, and copying
- Surface flatness acquisition
- The utmost precision in any probing direction
- Quality control
- Signal wire voltage: 3-48 V
Our Amastone touch probe is made of high-quality anodized aluminum and stainless steel.
The probe is IP64 certificated and is therefore dust-tight and able to operate safely in wet environments, i.e. water splashing from any direction.
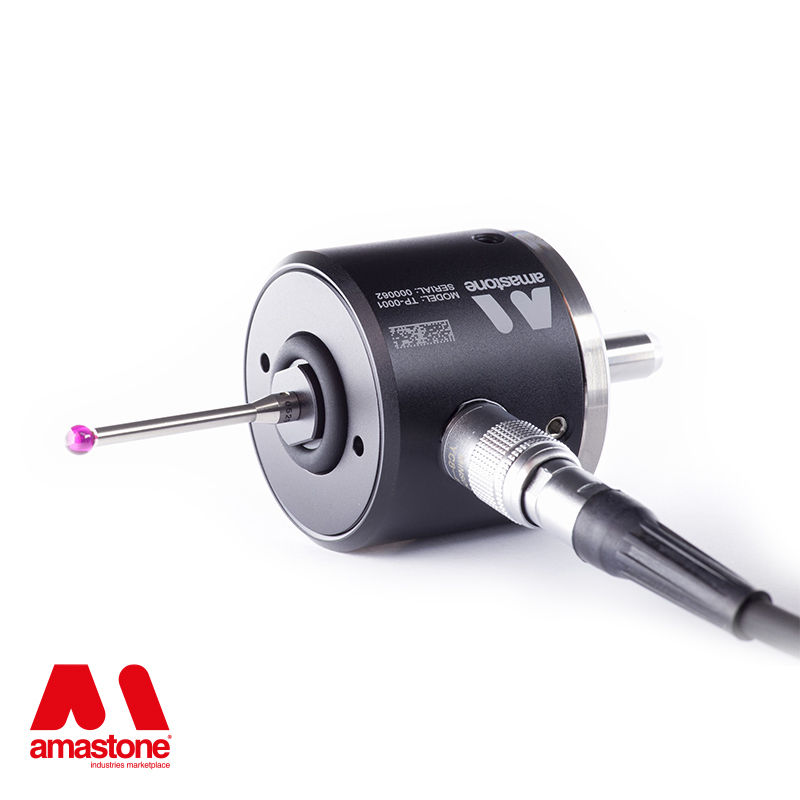
Unlike cheap hobby probes, this probe allows mechanical calibration to align the probe axis perfectly with the spindle axis; once calibrated, it is secured in position with 4 set screws (Allen screws).
Clamping
The connecting shank has a diameter of 7 mm and is 20 mm long. It clamps to the spindle via an 8 mm ER collet which you can conveniently purchase at https://amastone.com/shop/er-collet/
Wiring
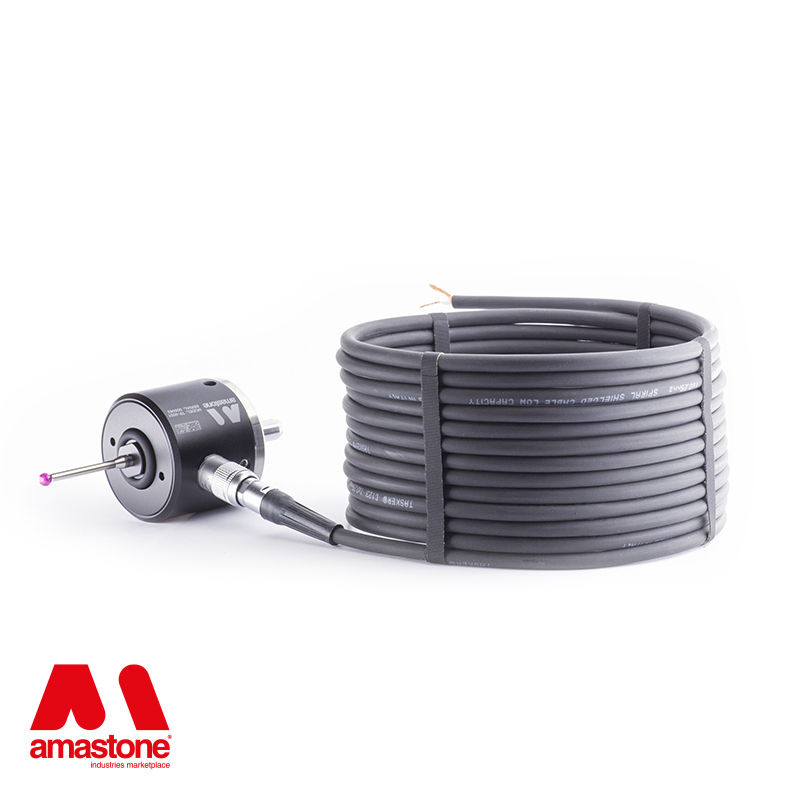
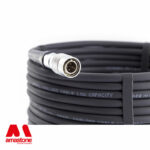
The internal electrical connection resembles a simple switch with normally connected contacts having a resistance of 10-30 Ω when closed. After the stylus is actuated, the contacts disconnect. The signal is isolated from the instrument body. The cable has two wires, one the signal wire, the other ground.
| Probing directions: | ±X; ±Y; -Z |
| Trigger force: | XY = 1N; Z = 5N |
| Repeatability (unidirectional): | 2 μm |
| Output function: | Electronic high-speed switch with normally closed contact |
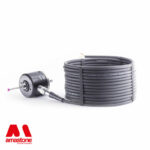
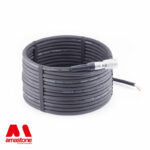
| Cable length: | 3 Meters (with connector) |
| Enclosure: | Aluminum Stainless steel |
| Fitting: | Cylindrical 7 mm Length: 20 mm |
| Size without stem: | Diameter: 40 mm Height: 38.5 mm |
| Size stylus: | Diameter: 2.5 mm Height: 31 mm |
| Ruby stylus tip: | Diameter: 4 mm |
Why do I need a CNC touch probe?
It would be hard to overstate the utility of a touch probe in the stone-cutting industry. With the fast zero-point acquisition, workpiece digitization and copying, surface flatness acquisition, the ability to scan workpieces and perform impeccable quality control, you have the opportunity to reduce setup times, increase machine usage, and improve the dimensional accuracy and precision of your finished work
Eliminate approximation and human error from your measurements. Automate what would otherwise be a very tedious and time-consuming task.
Use the cloud of points you acquire with the probe with the latest CAD/CAM software to enhance your work in untold ways, such as scaling-up, scaling down, merging pieces, personalizing products, amending defects, correcting for surface irregularities, and on and on.
If you are investing the equivalent of tens of thousands of dollars or even more in your equipment, how can you ignore the opportunities our touch probes provide?
Insights on our blog related to the 3d touch probe measuring sensor:

 Diamond Blades
 Angle Grinder Tools
 Polishing Machine Tools for Stone, Marble and Granite
 Texture tooling
 Adhesives and glue
 Ceramic, Granite and Marble Drill Bits
 Sculpture – Stone carving tools
 Diamond Wires for Granite and Marble Quarries
 Cemetery and Graveyard Accessories
 CNC Vacuum Pods
 CNC Tool Holders
 CNC Tool Forks
 Positioning Alignment Lasers
 Material Handling
 Machinery
 Spare parts
 Electrical Spare Parts
 Personal Protective Equipment





Luben Hristov (verified owner) –
Very well made to the highest standards touch probe. Recommend it
(verified owner) –
The probe works realy well and the finish and quality is also very nice.
had no time to test the accuracy yet but did use it already and seams to be good.
the only thing that i miss is a manual how to adjust the probe center it’s not difficult but it would have been nice if they had supplied one.